
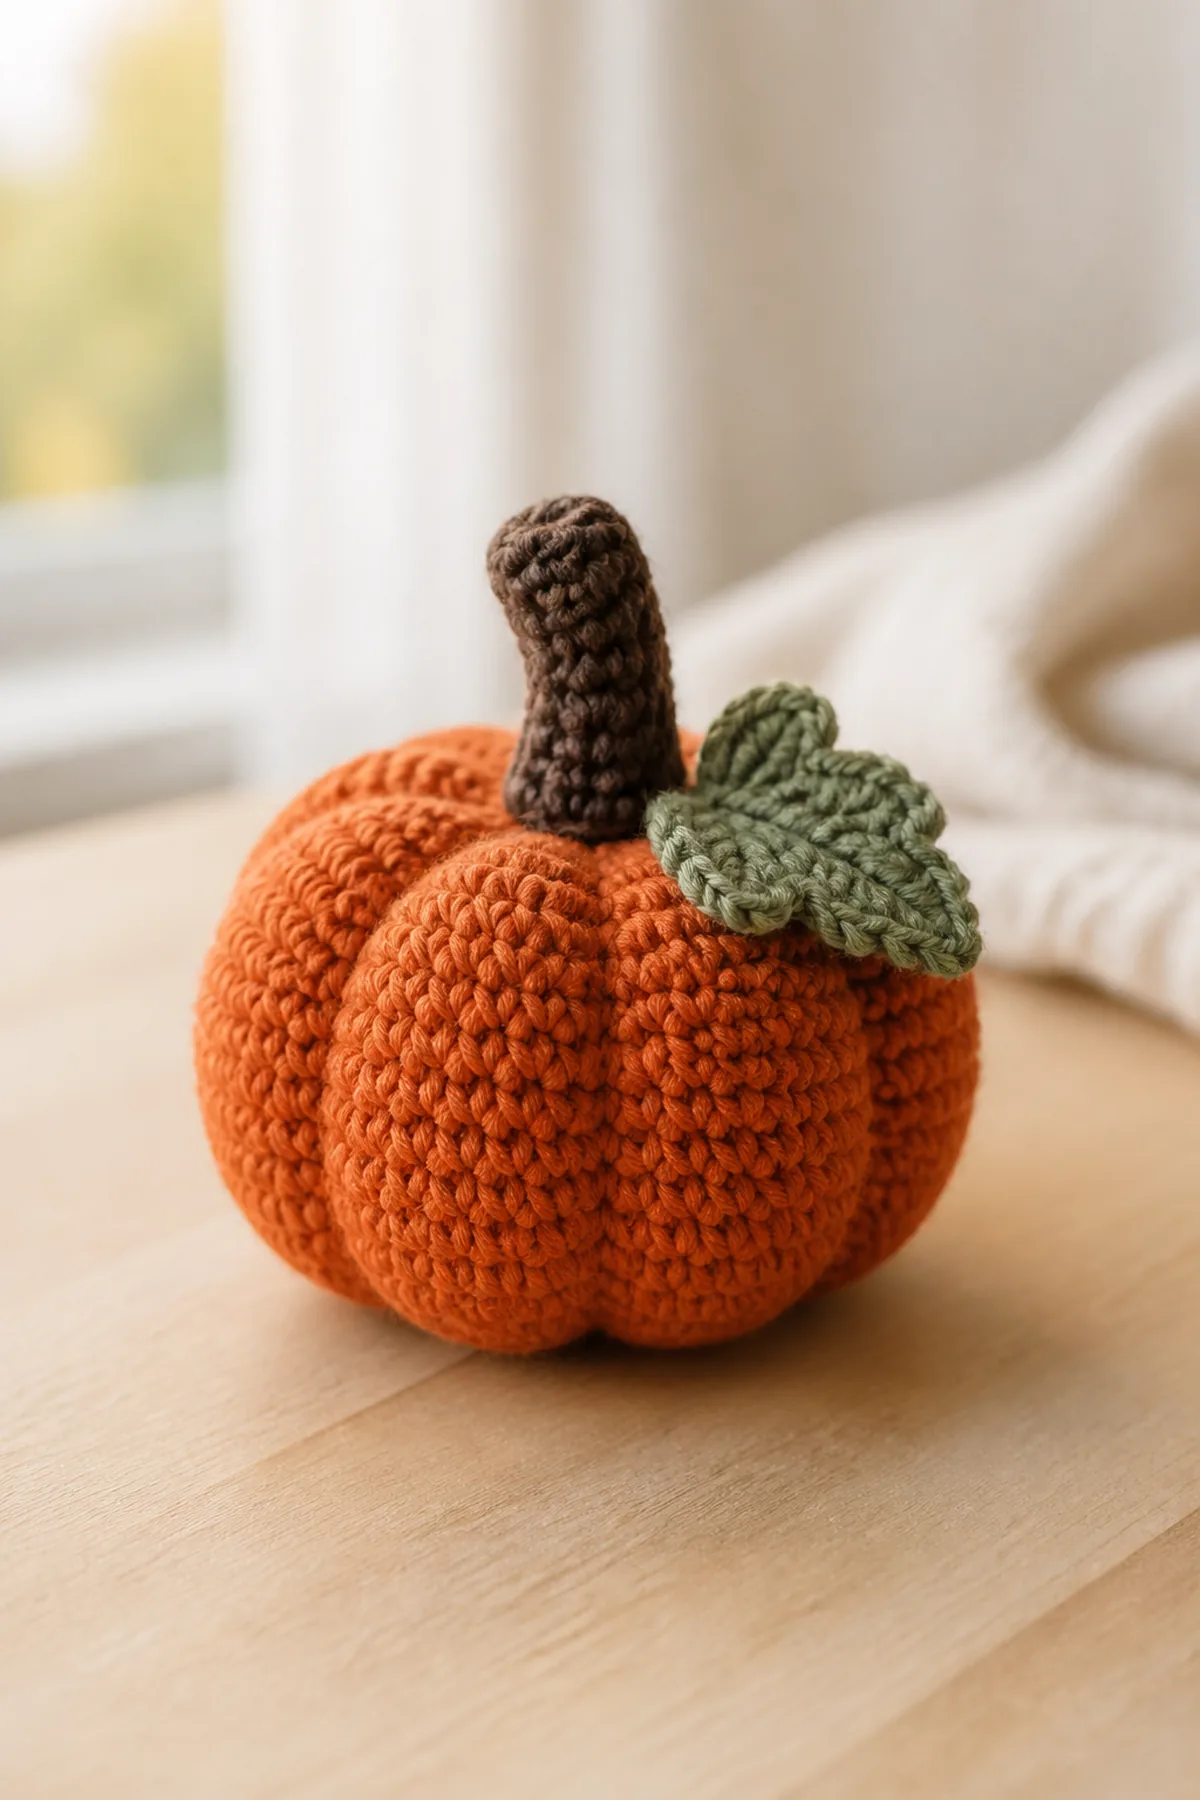
This crochet pumpkin amigurumi pattern creates easy small stuffed pumpkin for fall and Halloween décor. The design uses approachable stitches, clearly marked shaping, and practical finishing details for a polished handmade result.
Project Overview
- Skill level: Easy
- US terminology
- Finished size: About 4 inches wide and 3 inches tall
- Construction: Worked in continuous rounds, stuffed, then shaped with yarn indentations.
Materials
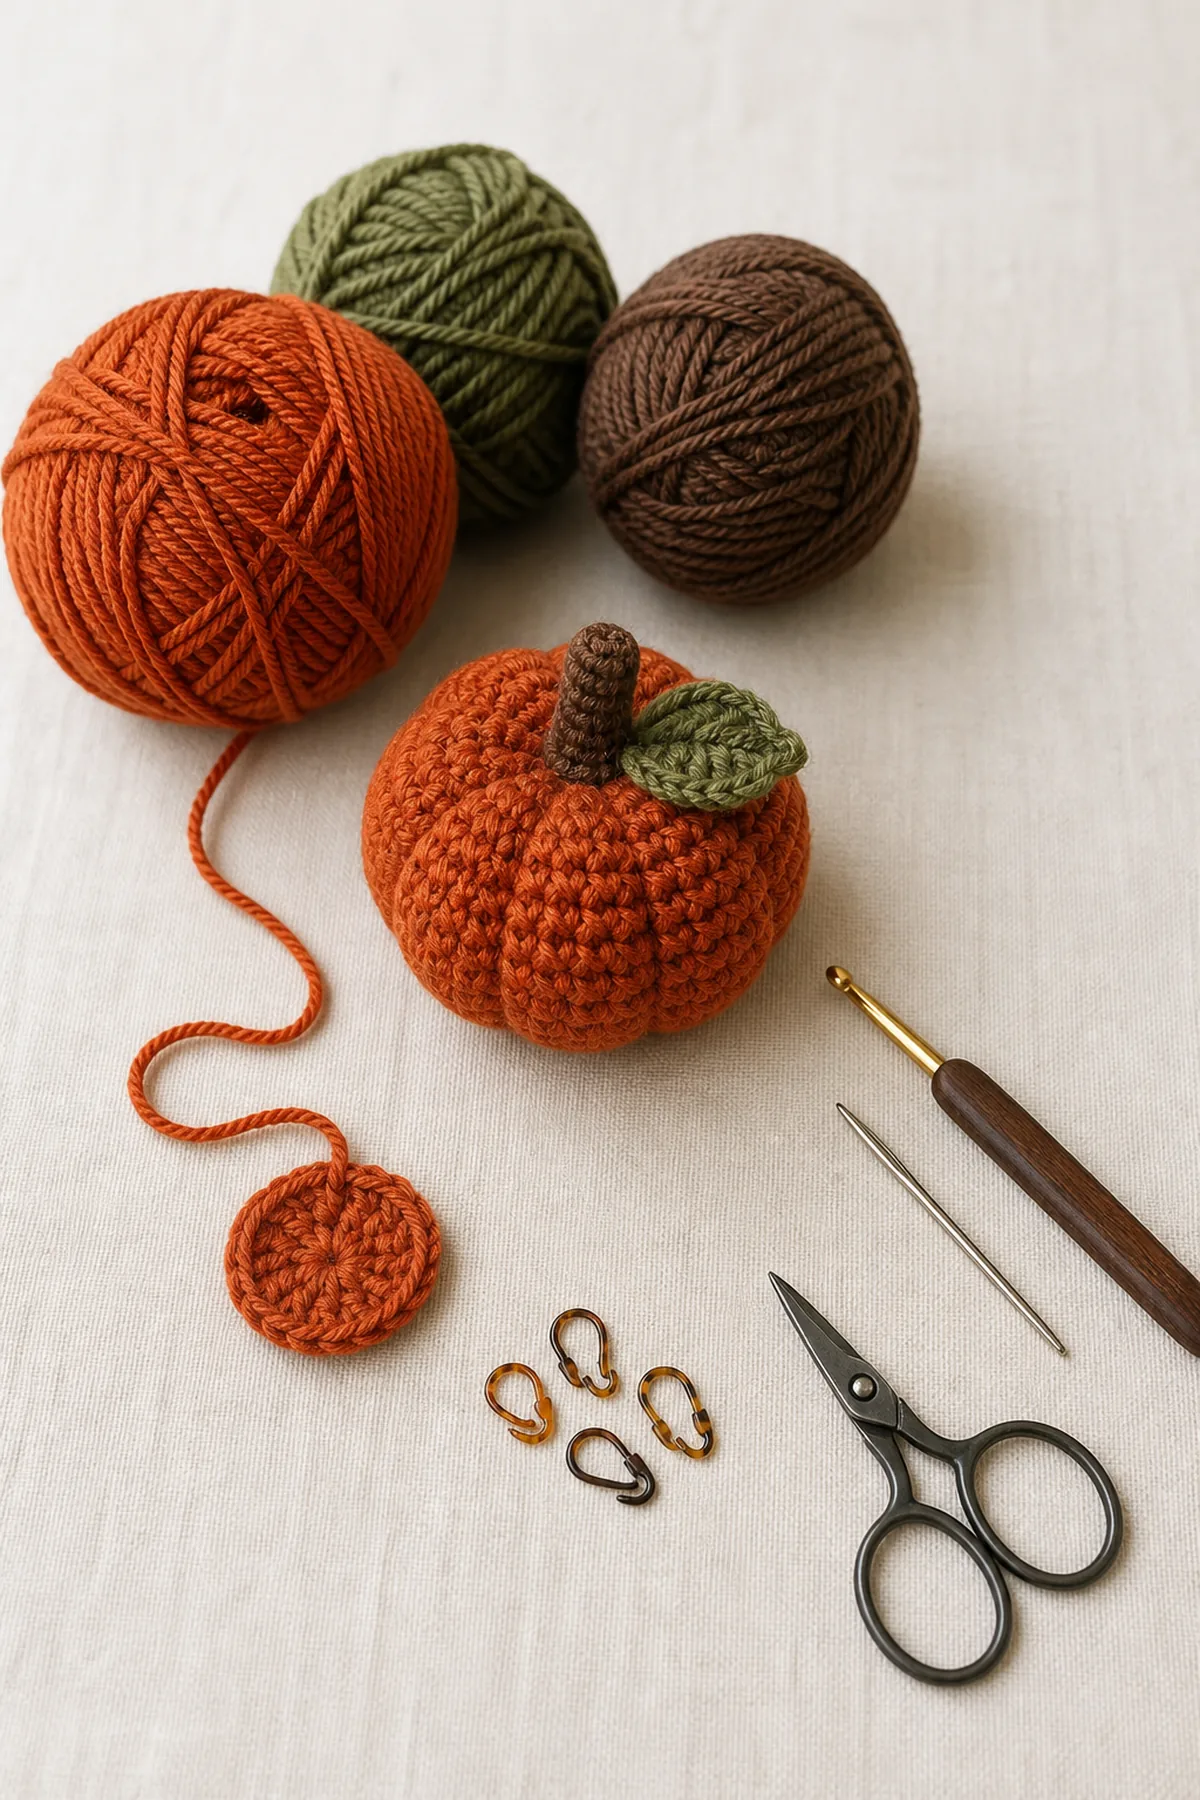
- Worsted-weight yarn in the project colors
- 3.5 mm (E-4) crochet hook
- Yarn needle
- Scissors
- Stitch markers
- Washable fiberfill when the design is stuffed
Gauge and Sizing
Make a small swatch in the main stitch pattern. Aim for a firm, even fabric suited to the project, and adjust the hook by 0.5 mm if needed. Measure the work without stretching. Finished size: About 4 inches wide and 3 inches tall.
Abbreviations
- ch: chain
- sc: single crochet
- hdc: half double crochet
- dc: double crochet
- inc: two stitches in one stitch
- inv dec: invisible single crochet decrease
- sl st: slip stitch
- st(s): stitch(es)
Pattern Notes
- Counts in parentheses are the completed stitch count for that row or round.
- Beginning chains do not count as stitches unless a step states otherwise.
- Use a marker to identify the first stitch of rounds and count before continuing.
- Change yarn on the final pull-through of the preceding stitch and weave ends securely.
Complete Crochet Instructions
Pumpkin Body
- With orange yarn, make a magic ring and work 6 sc into the ring. (6 sts)
- Rnd 2: Work 2 sc in each stitch around. (12 sts)
- Rnd 3: Repeat [sc in next st, 2 sc in next st] around. (18 sts)
- Rnd 4: Repeat [sc in next 2 sts, 2 sc in next st] around. (24 sts)
- Rnd 5: Repeat [sc in next 3 sts, 2 sc in next st] around. (30 sts)
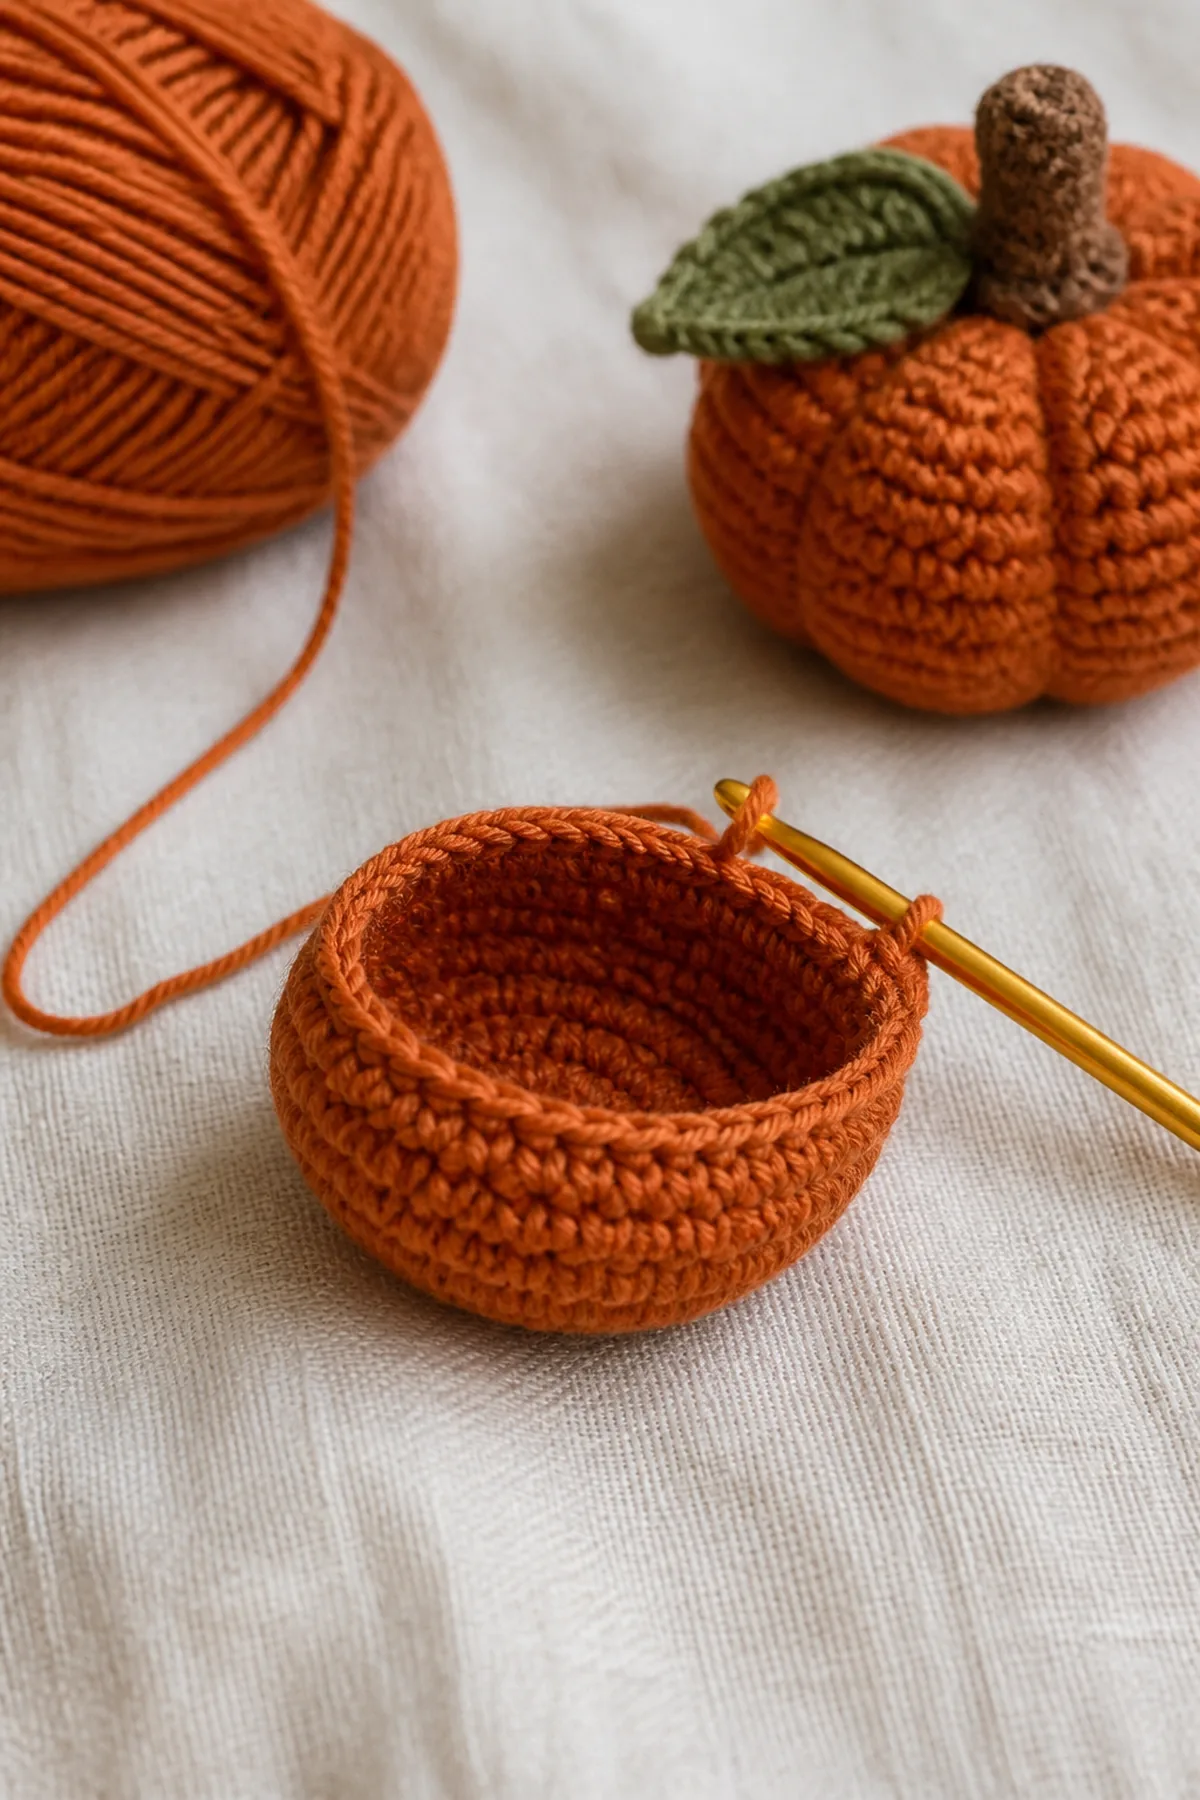
- Rnds 6–11: Sc in each stitch around. (30 sts)
- Rnd 12: Repeat [sc in next 3 sts, inv dec] around. (24 sts)
- Rnd 13: Repeat [sc in next 2 sts, inv dec] around. (18 sts)
- Stuff firmly but keep the base flat. Rnd 14: Repeat [sc in next st, inv dec] around. (12 sts)
- Rnd 15: Inv dec around. (6 sts) Fasten off and close.
Shape and Stem
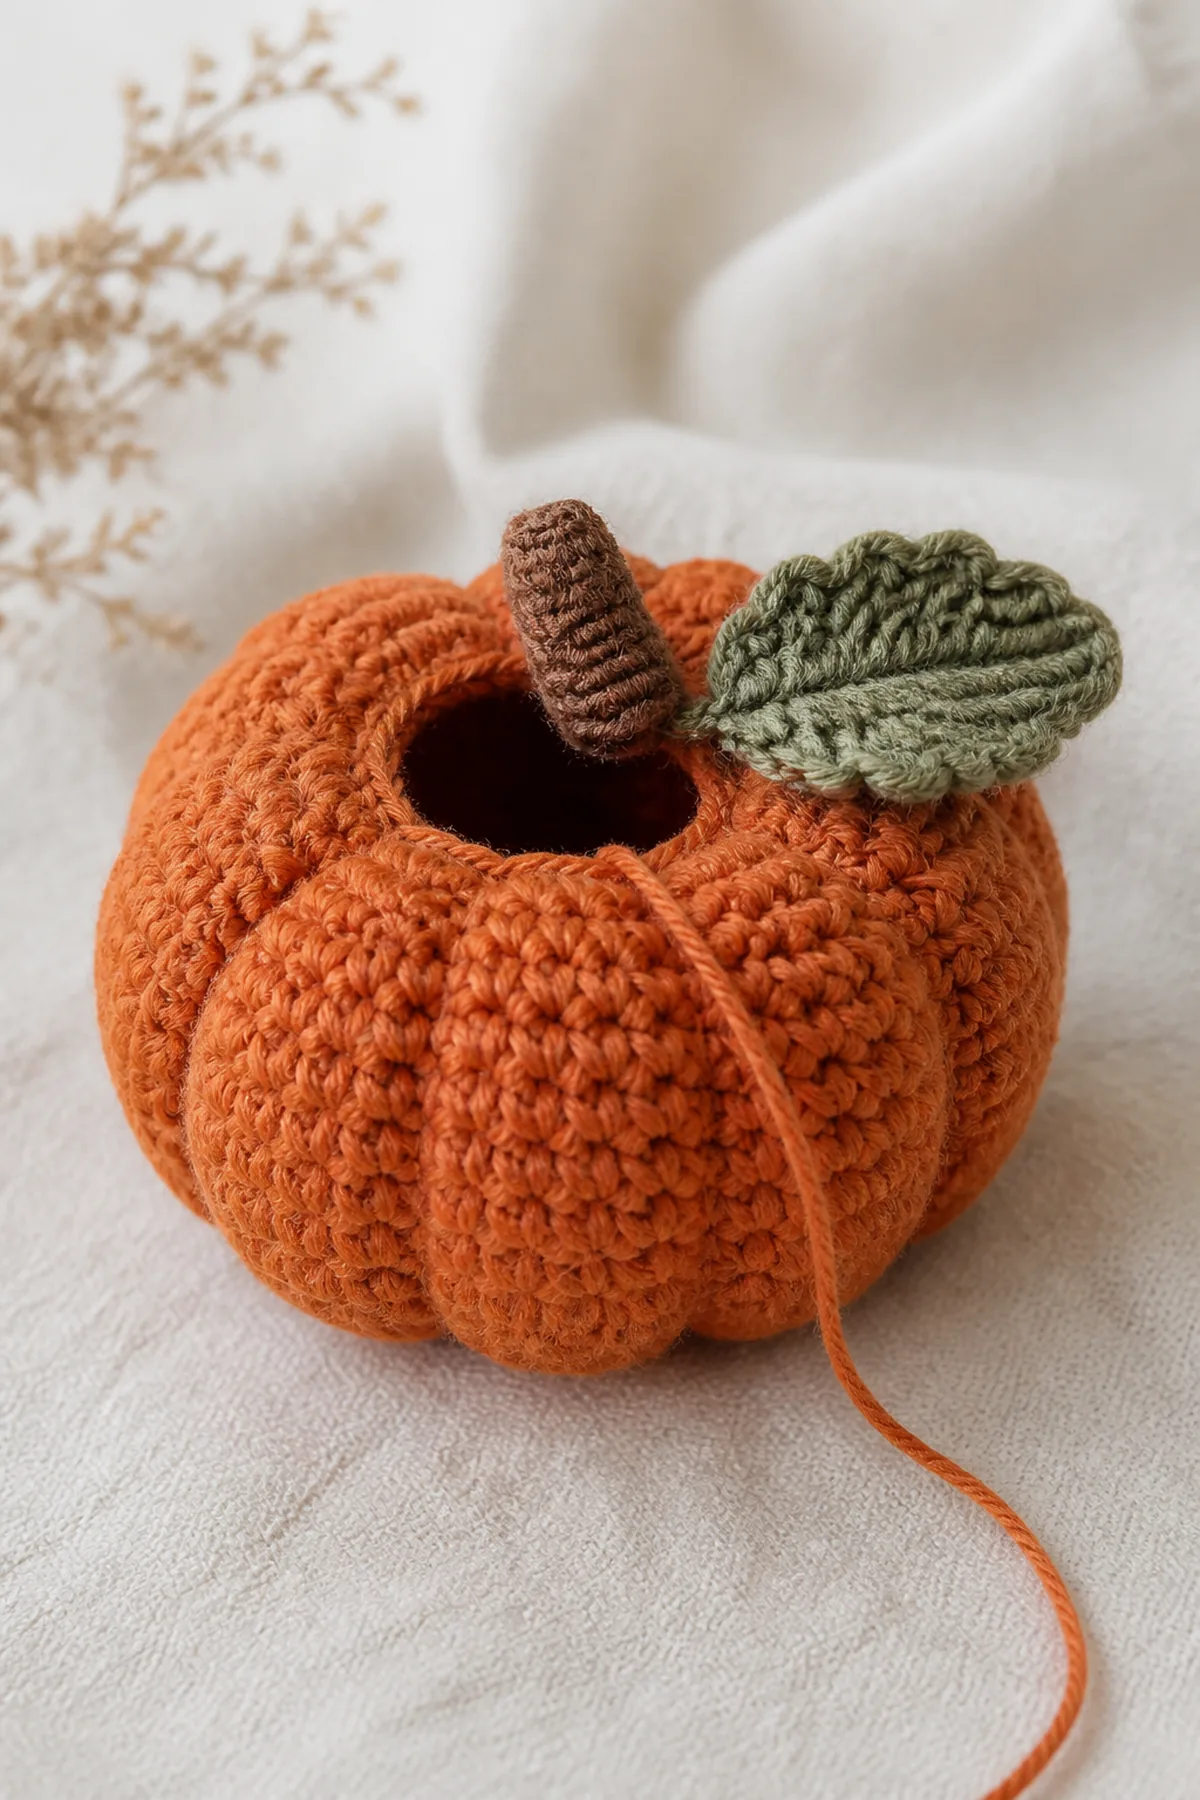
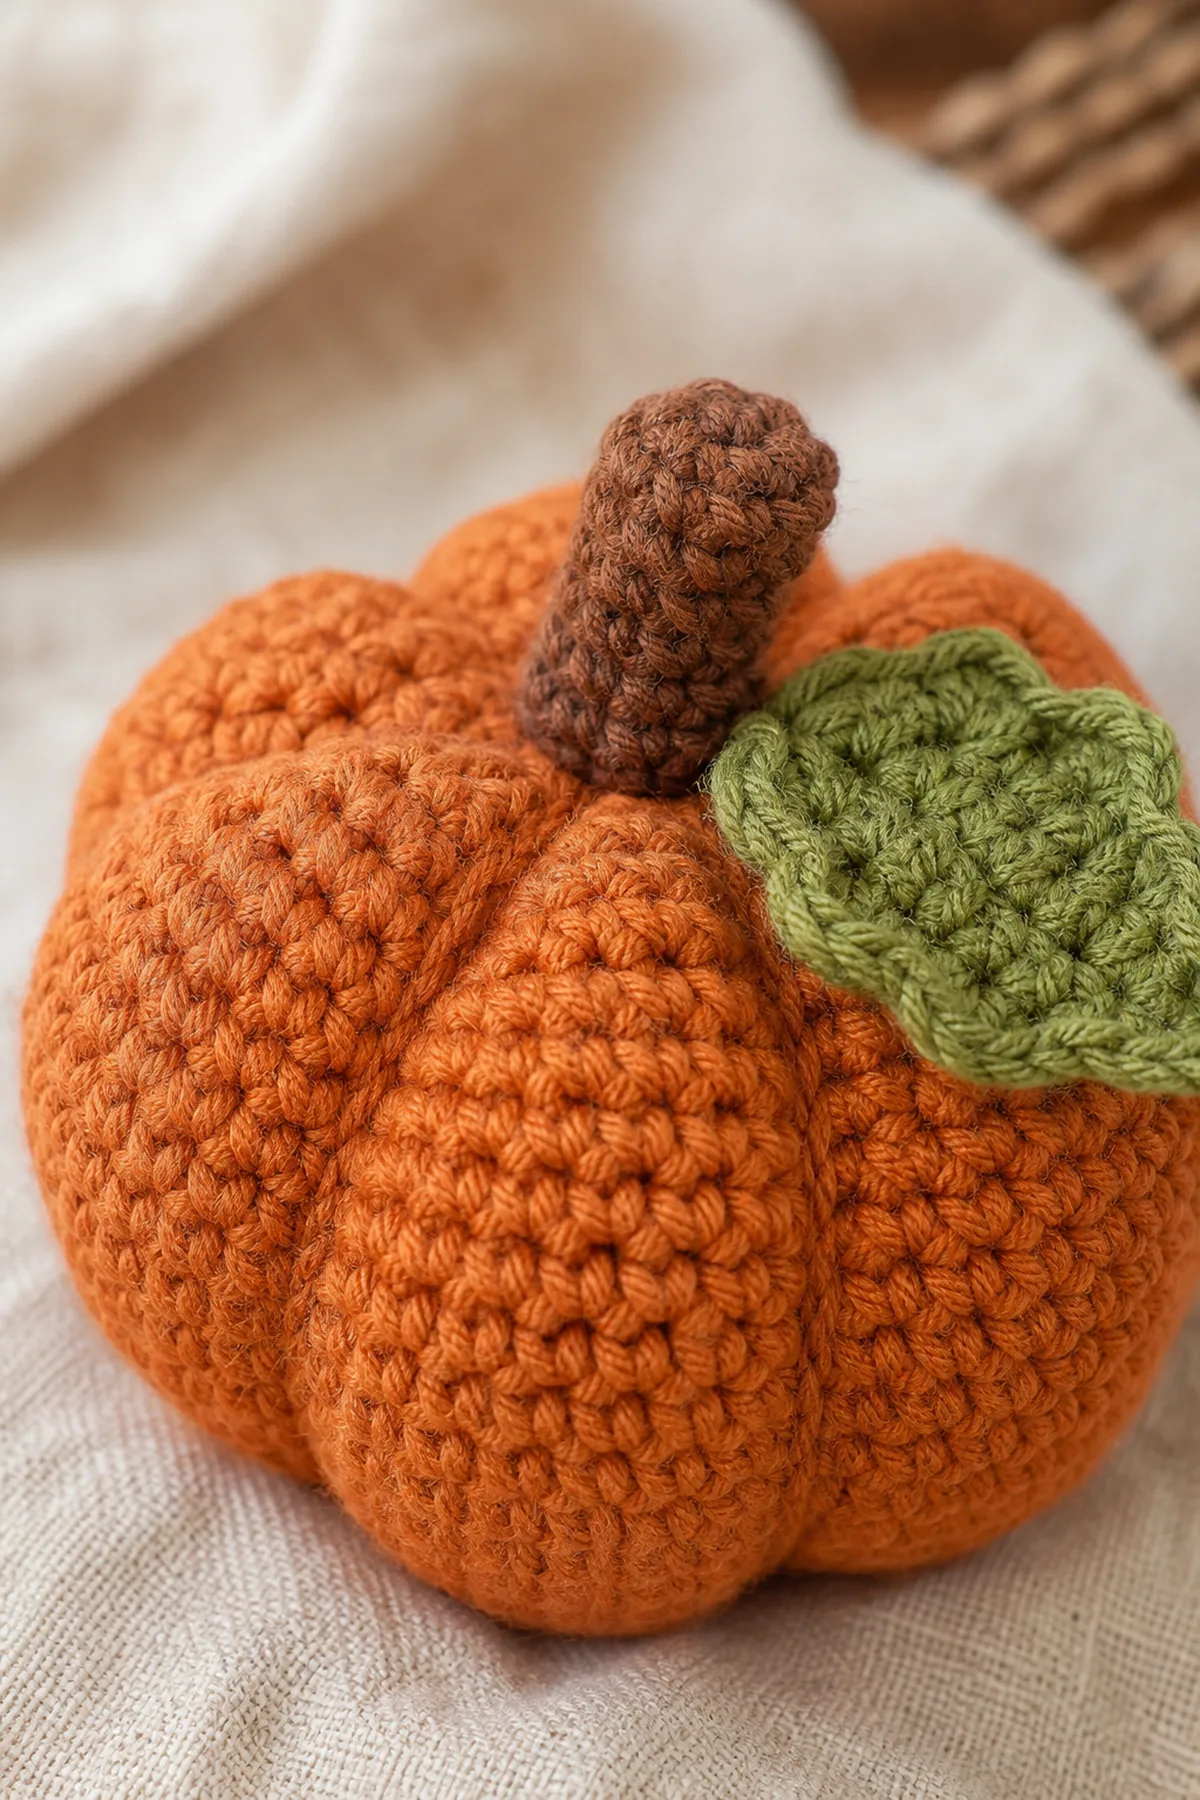
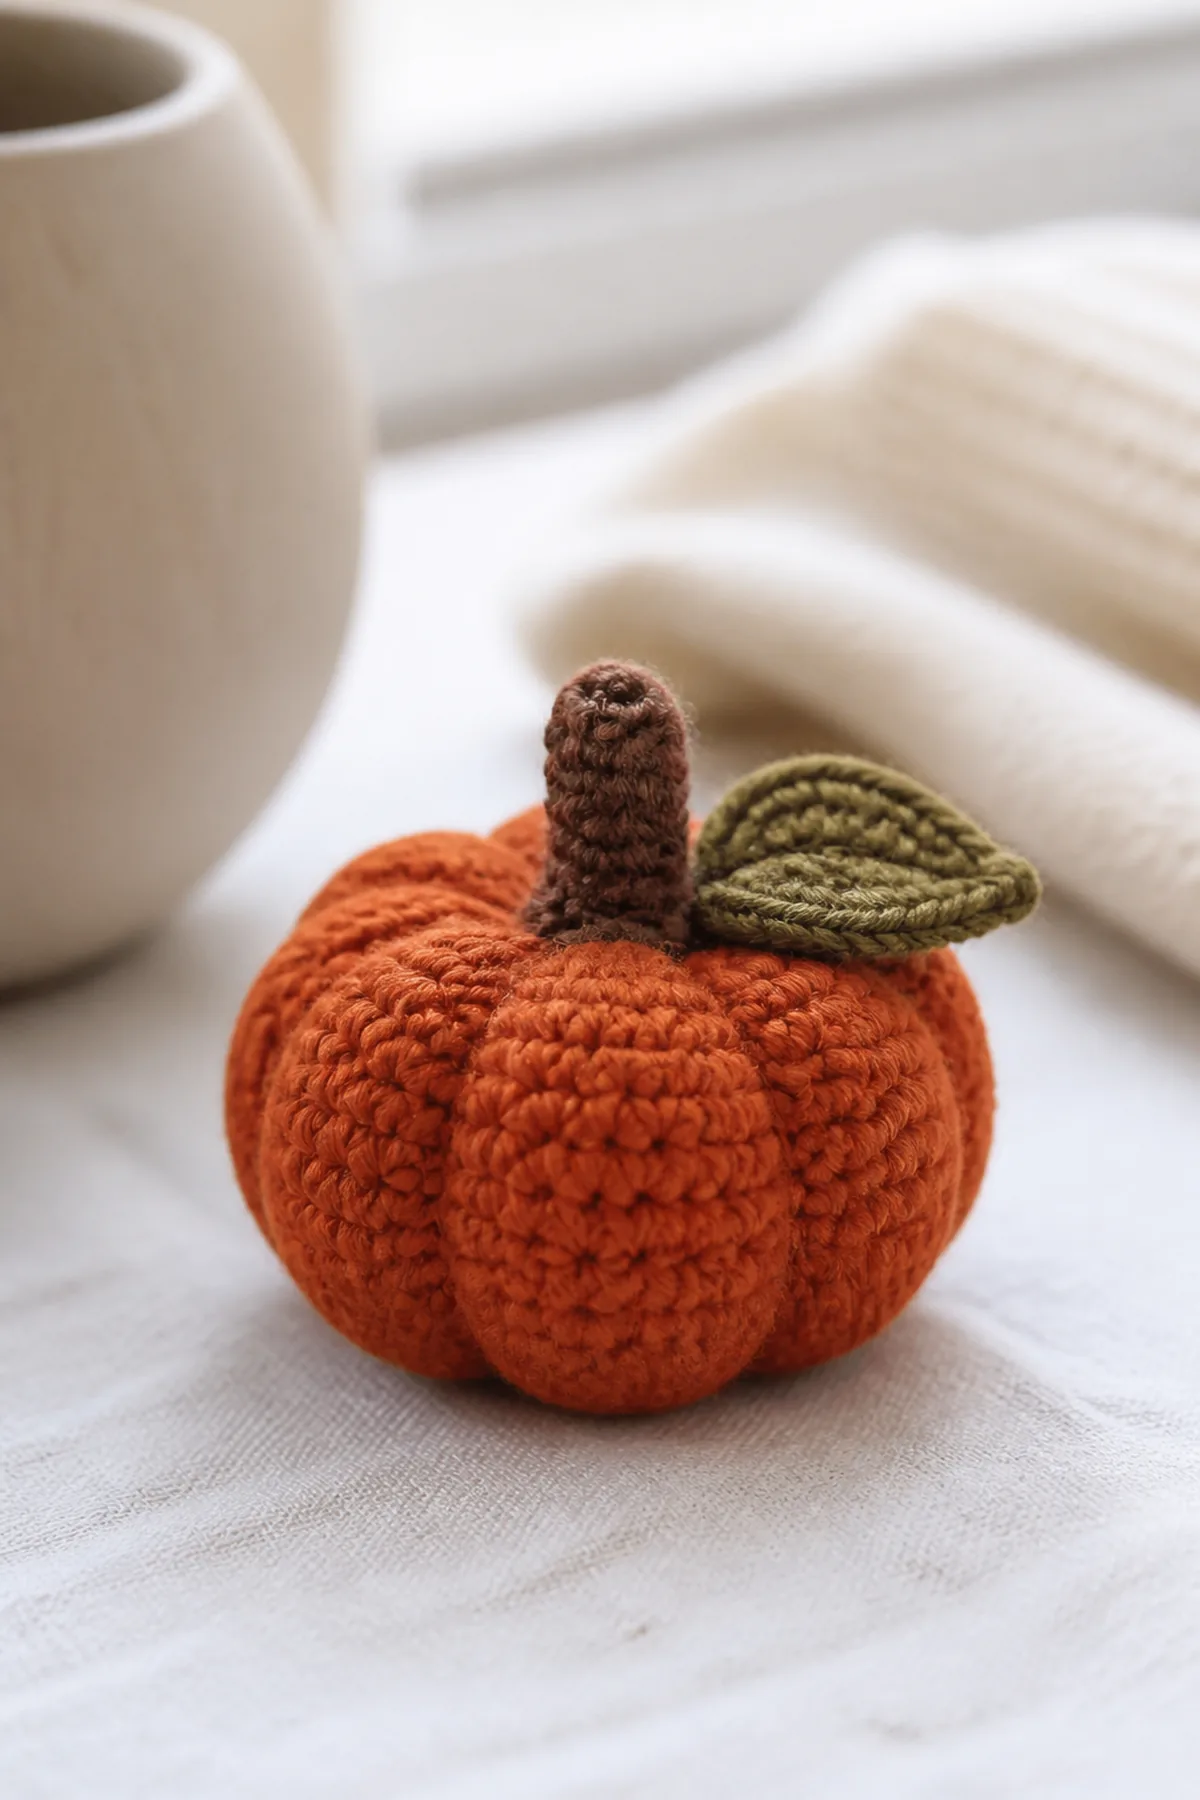
- Thread a long orange strand through the center from bottom to top, wrap it around the outside, and pull gently to form a groove. Repeat evenly five more times.
- For the stem, work 6 sc in a magic ring with brown yarn, then sc around for 4 rounds. Stuff lightly and sew securely to the top.
- Make a small green leaf with ch 6, sl st, sc, hdc, dc, and hdc back along the chain; sew beside the stem.
Construction Check
Lay out all pieces before final assembly. Match marked centers and edges, distribute stitches evenly, and compare paired pieces for symmetry before sewing.
Finishing
- Weave every yarn tail through several stitches on the wrong side, reverse direction, and trim.
- Shape gently by hand. Wet block flat only when appropriate for the chosen fiber and project.
- Inspect seams, attachments, and stitch counts before use.
Customization and Practical Tips
- Change the palette while keeping yarn weight and gauge consistent.
- Record the hook size and final measurements if making another version.
- For washable projects, follow the yarn label and reshape while drying.
Frequently Asked Questions
Can I substitute yarn?
Yes. Choose a yarn with similar thickness and behavior, then swatch because fiber and twist affect size and drape.
How do I keep the result symmetrical?
Count each row or round, mark center points, and compare matching pieces before fastening off or sewing.