
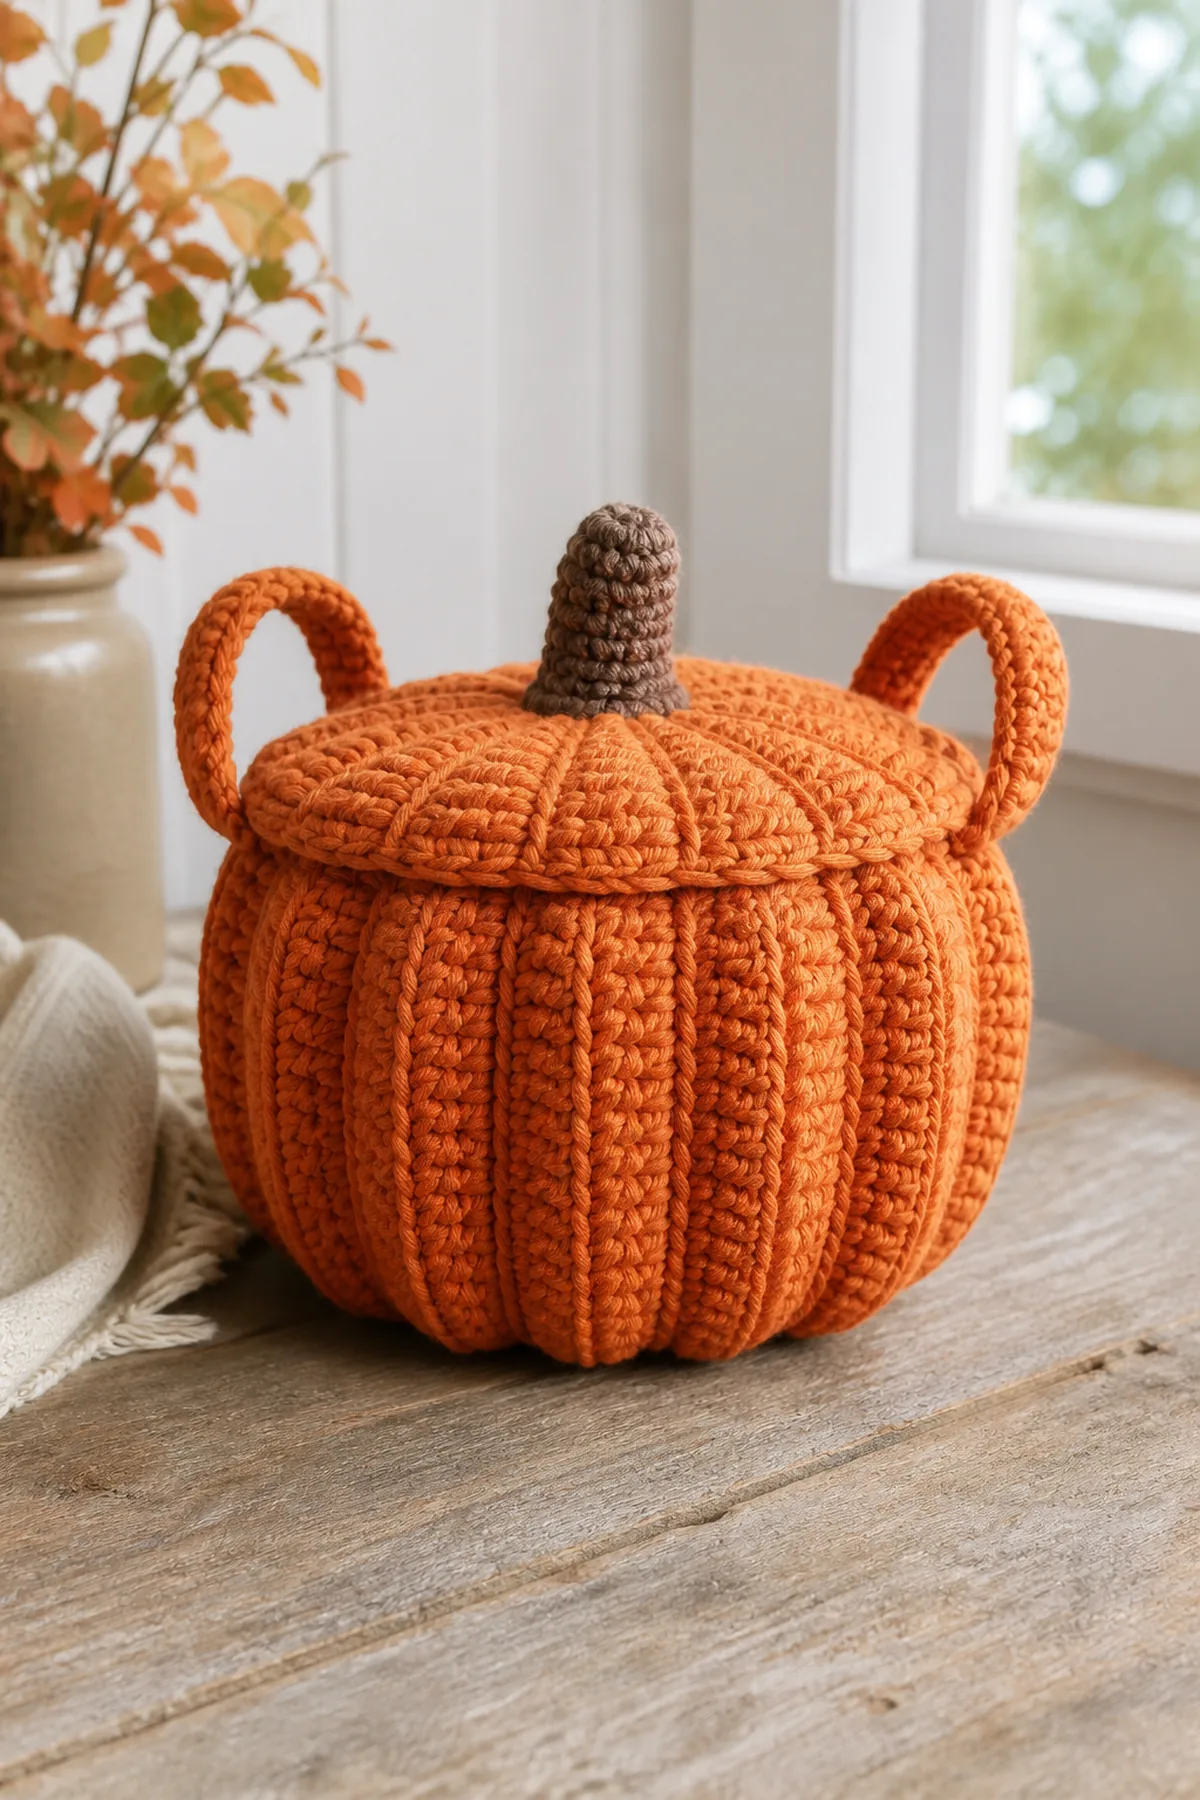
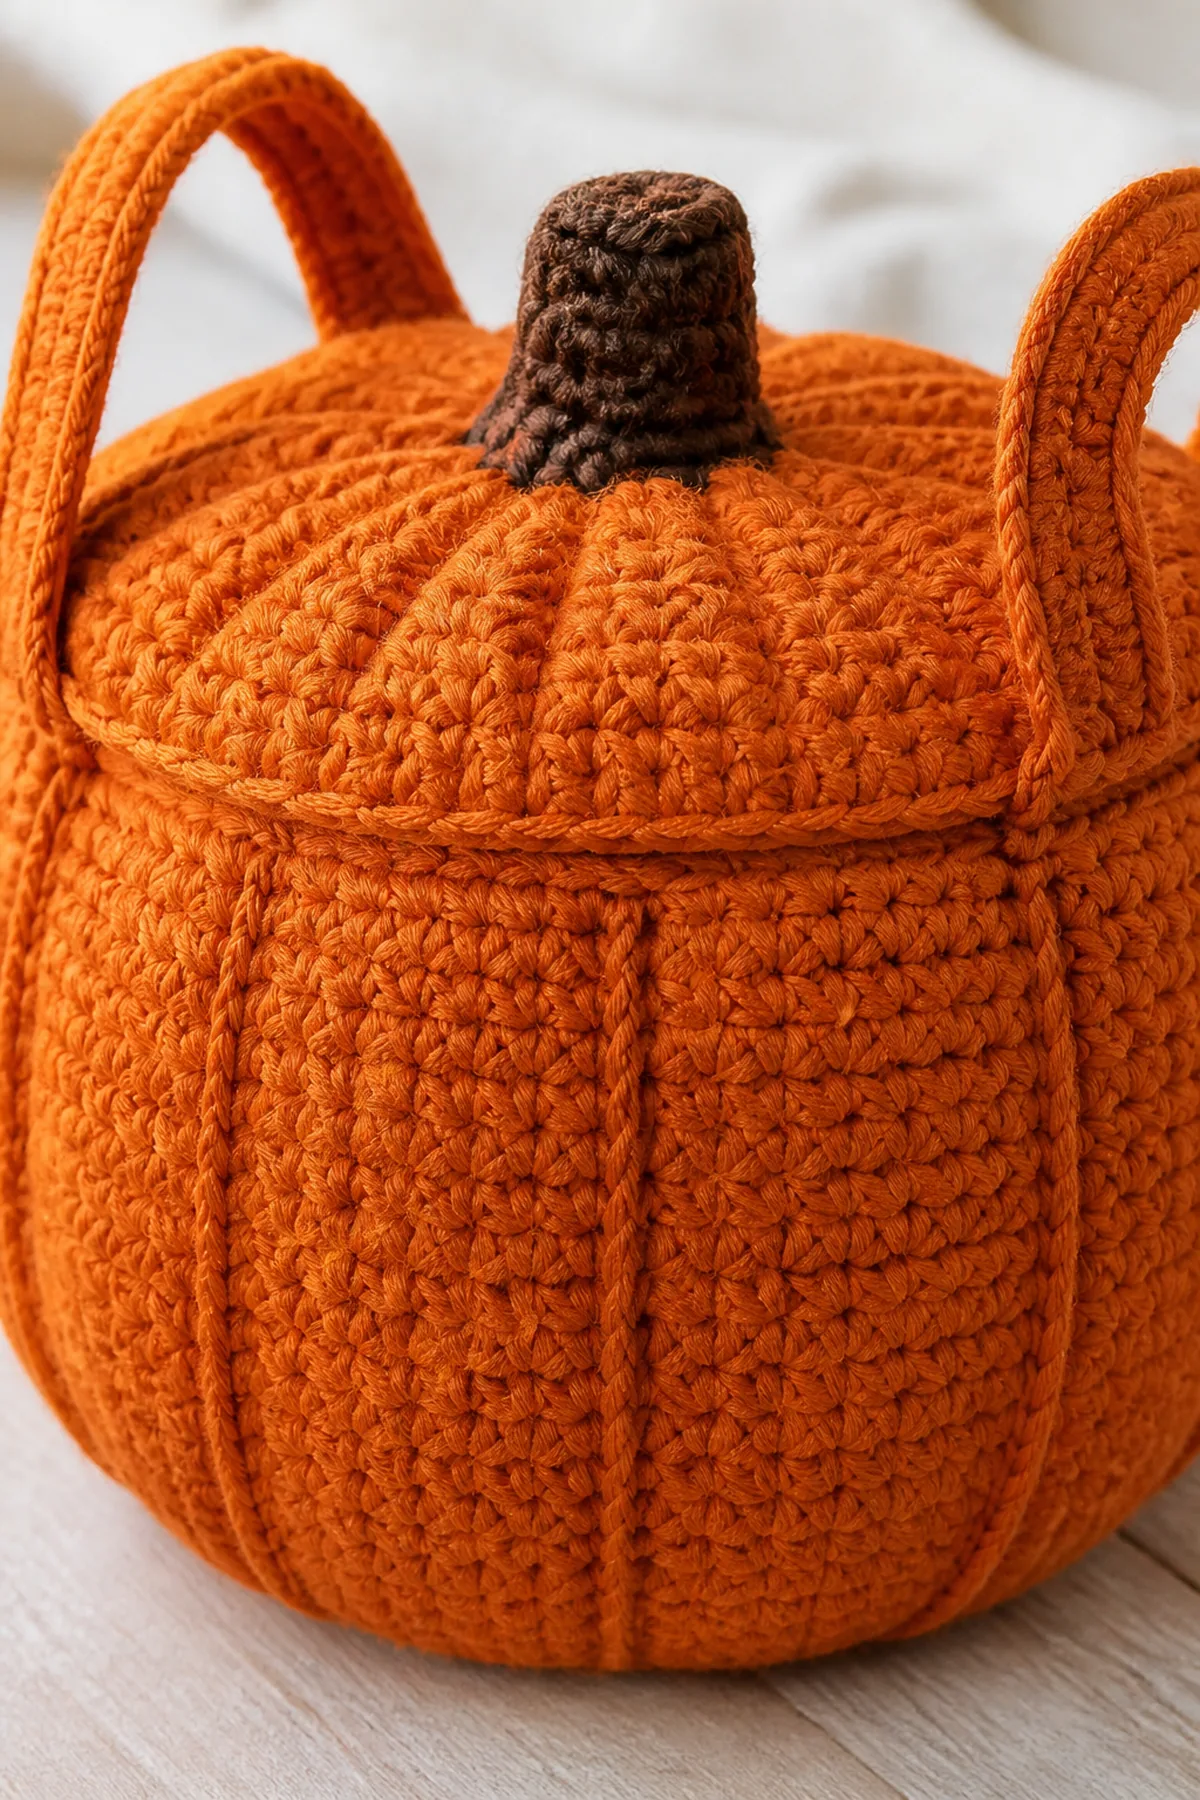
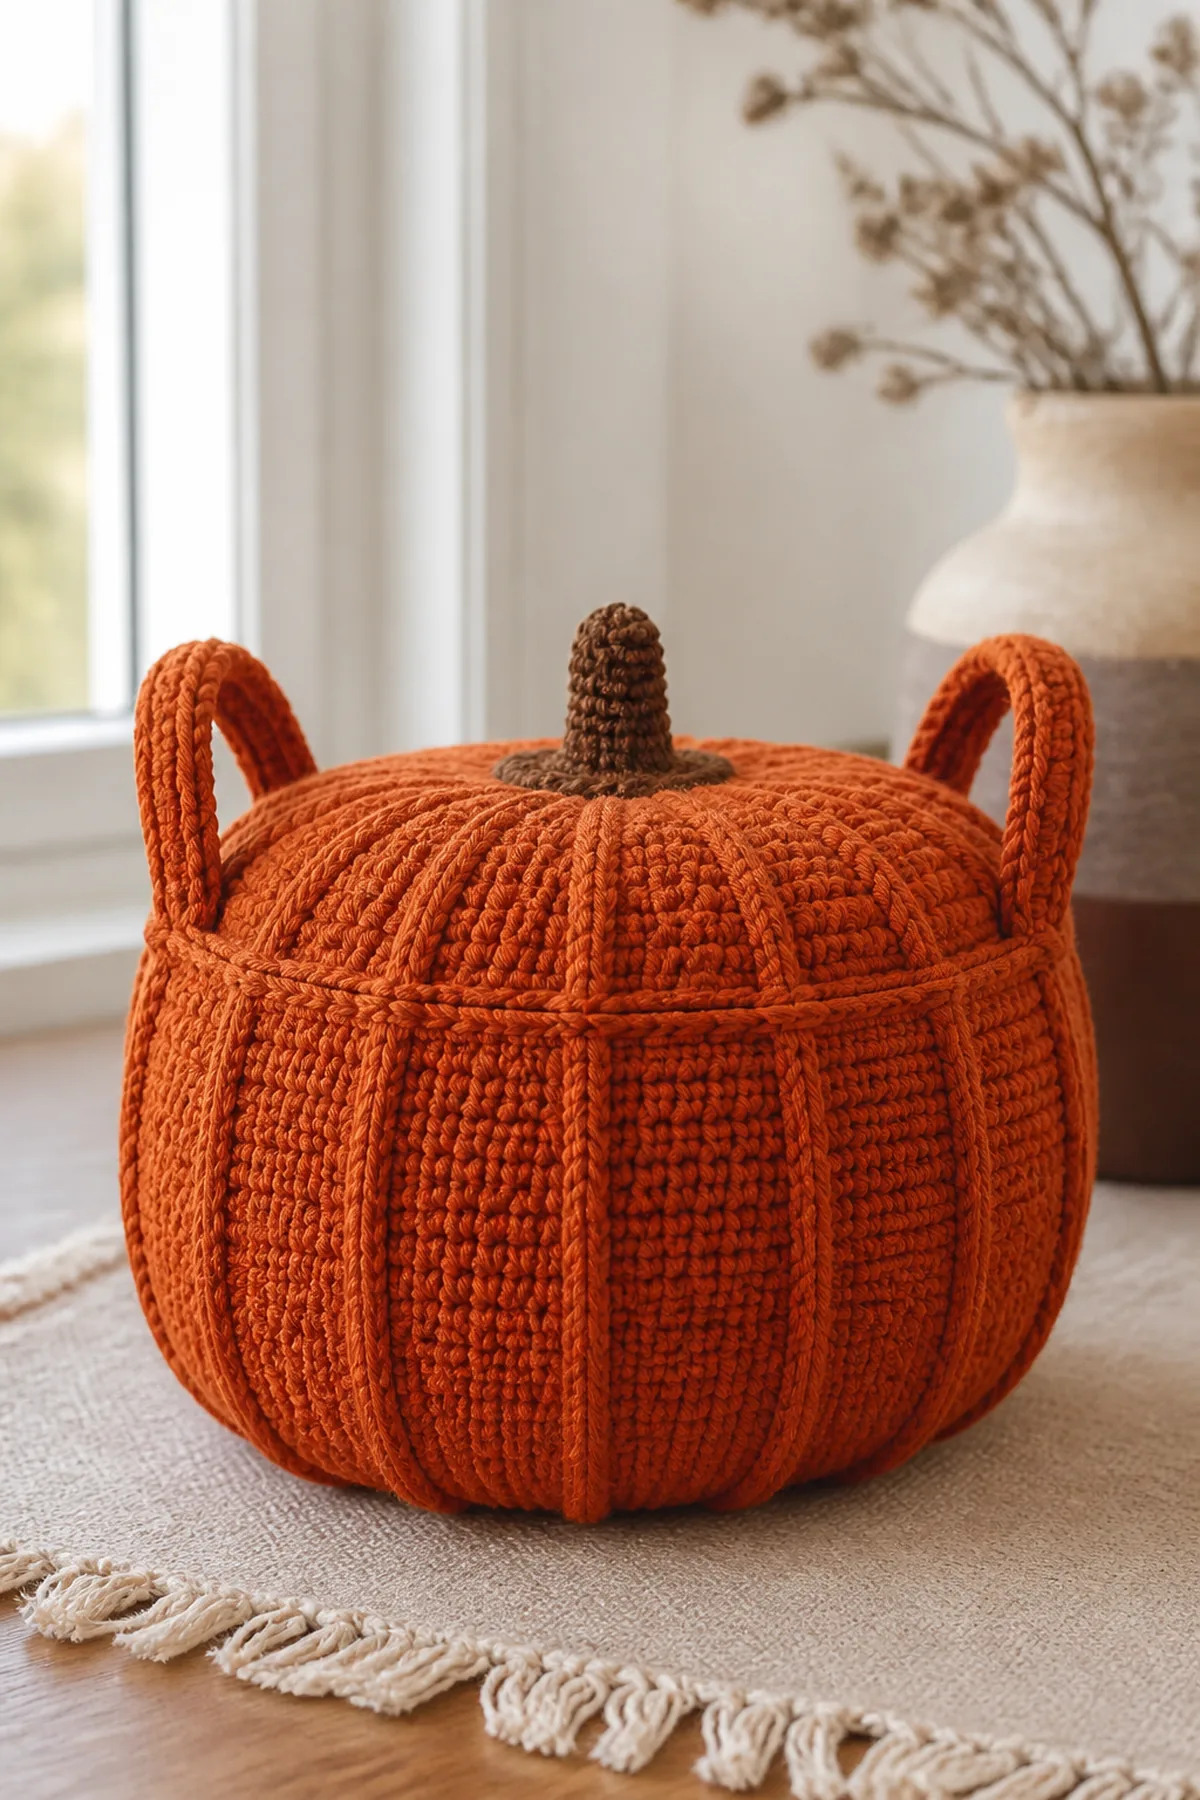
This crochet pumpkin basket pattern creates functional pumpkin-inspired crochet storage basket for fall home décor. The design uses approachable stitches, clearly marked shaping, and practical finishing details for a polished handmade result.
Project Overview
- Skill level: Easy
- US terminology
- Finished size: About 10 inches wide by 8 inches tall
- Construction: Worked from a flat circular base upward in thick ribbed rounds.
Materials
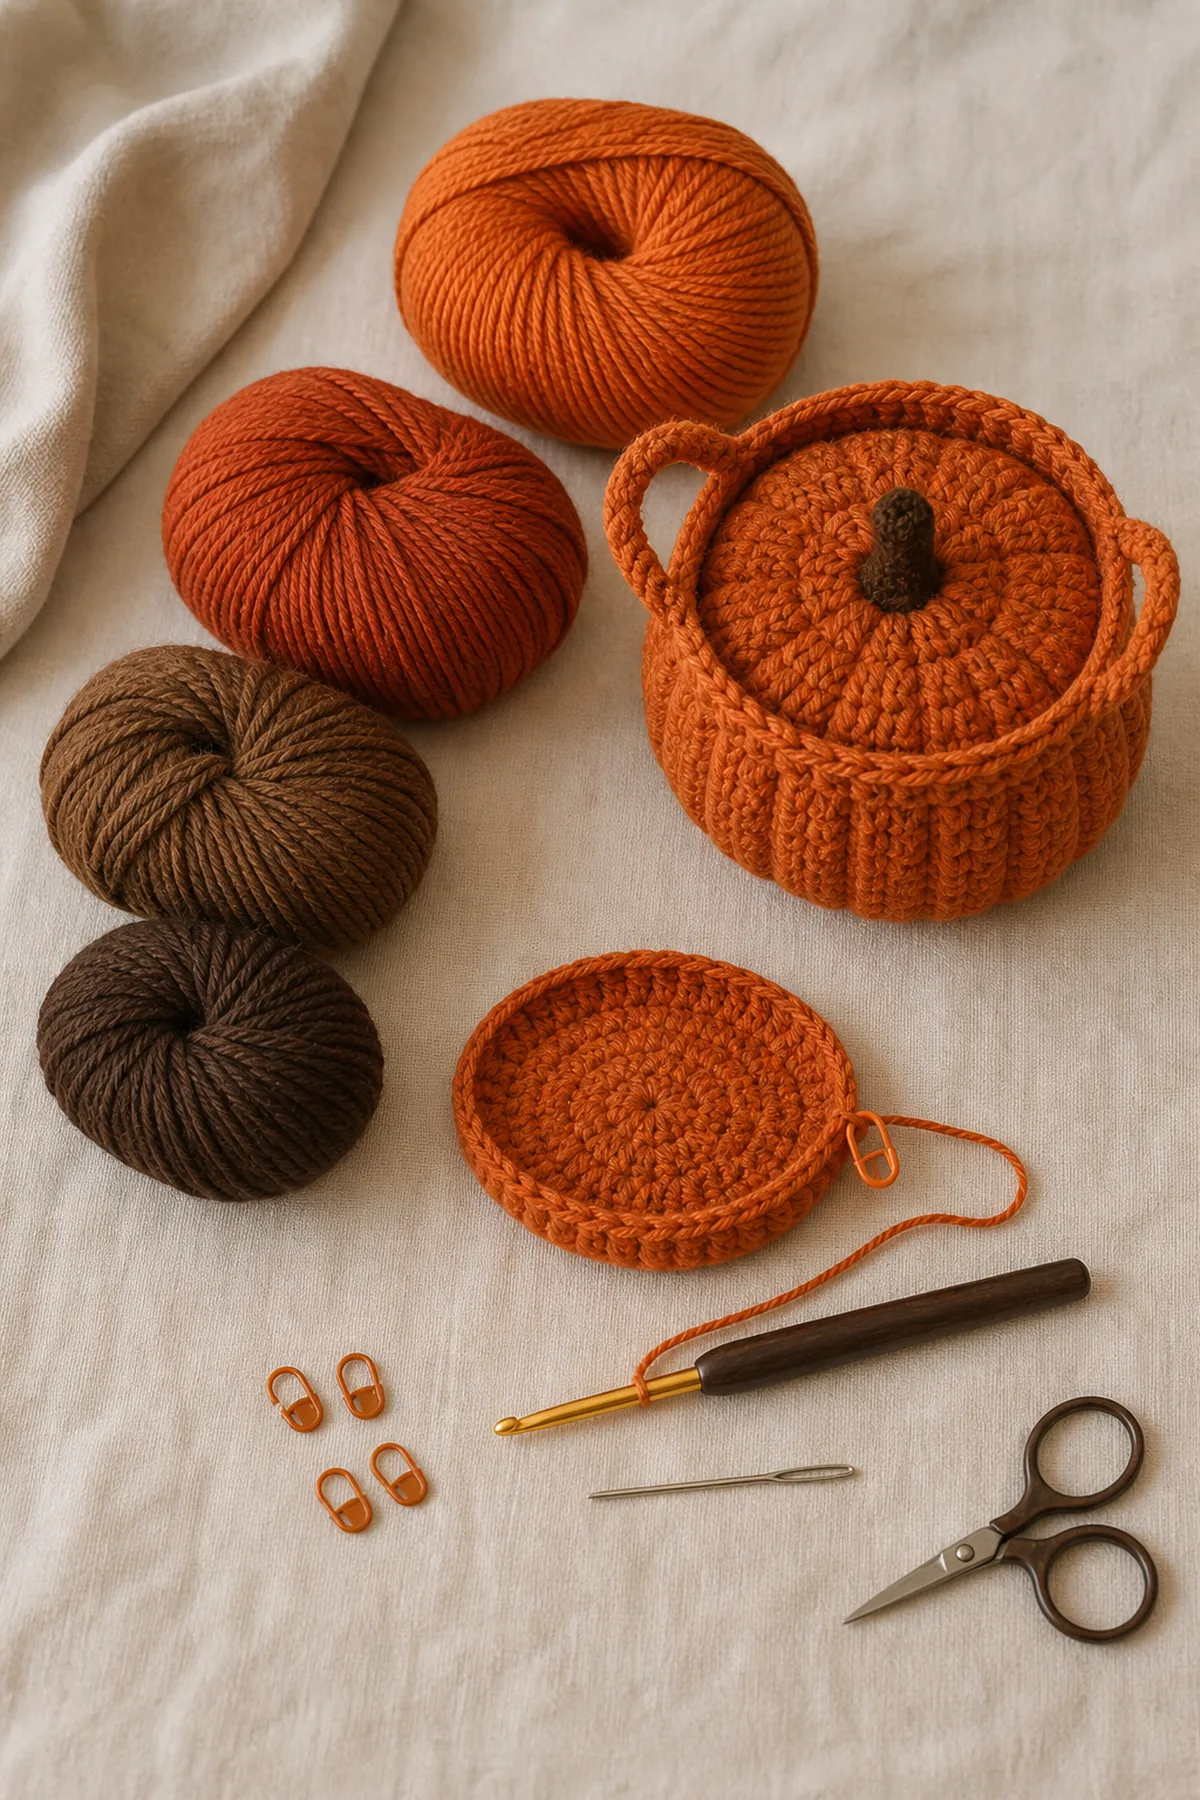
- Super Bulky-weight yarn in the project colors
- 8 mm (L-11) crochet hook
- Yarn needle
- Scissors
- Stitch markers
Gauge and Sizing
Make a small swatch in the main stitch pattern. Aim for a firm, even fabric suited to the project, and adjust the hook by 0.5 mm if needed. Measure the work without stretching. Finished size: About 10 inches wide by 8 inches tall.
Abbreviations
- ch: chain
- sc: single crochet
- hdc: half double crochet
- dc: double crochet
- inc: two stitches in one stitch
- inv dec: invisible single crochet decrease
- sl st: slip stitch
- st(s): stitch(es)
Pattern Notes
- Counts in parentheses are the completed stitch count for that row or round.
- Beginning chains do not count as stitches unless a step states otherwise.
- Use a marker to identify the first stitch of rounds and count before continuing.
- Change yarn on the final pull-through of the preceding stitch and weave ends securely.
Complete Crochet Instructions
Basket Base
- With orange yarn, make a magic ring and work 8 sc. Join. (8 sts)
- Rnd 2: Work 2 sc in each stitch. Join. (16 sts)
- Rnd 3: Repeat [sc, inc] around. (24 sts)
- Rnd 4: Repeat [sc in next 2 sts, inc] around. (32 sts)
- Rnd 5: Repeat [sc in next 3 sts, inc] around. (40 sts)
- Rnd 6: Working in back loops only, sc around without increasing. (40 sts)
Sides and Handles
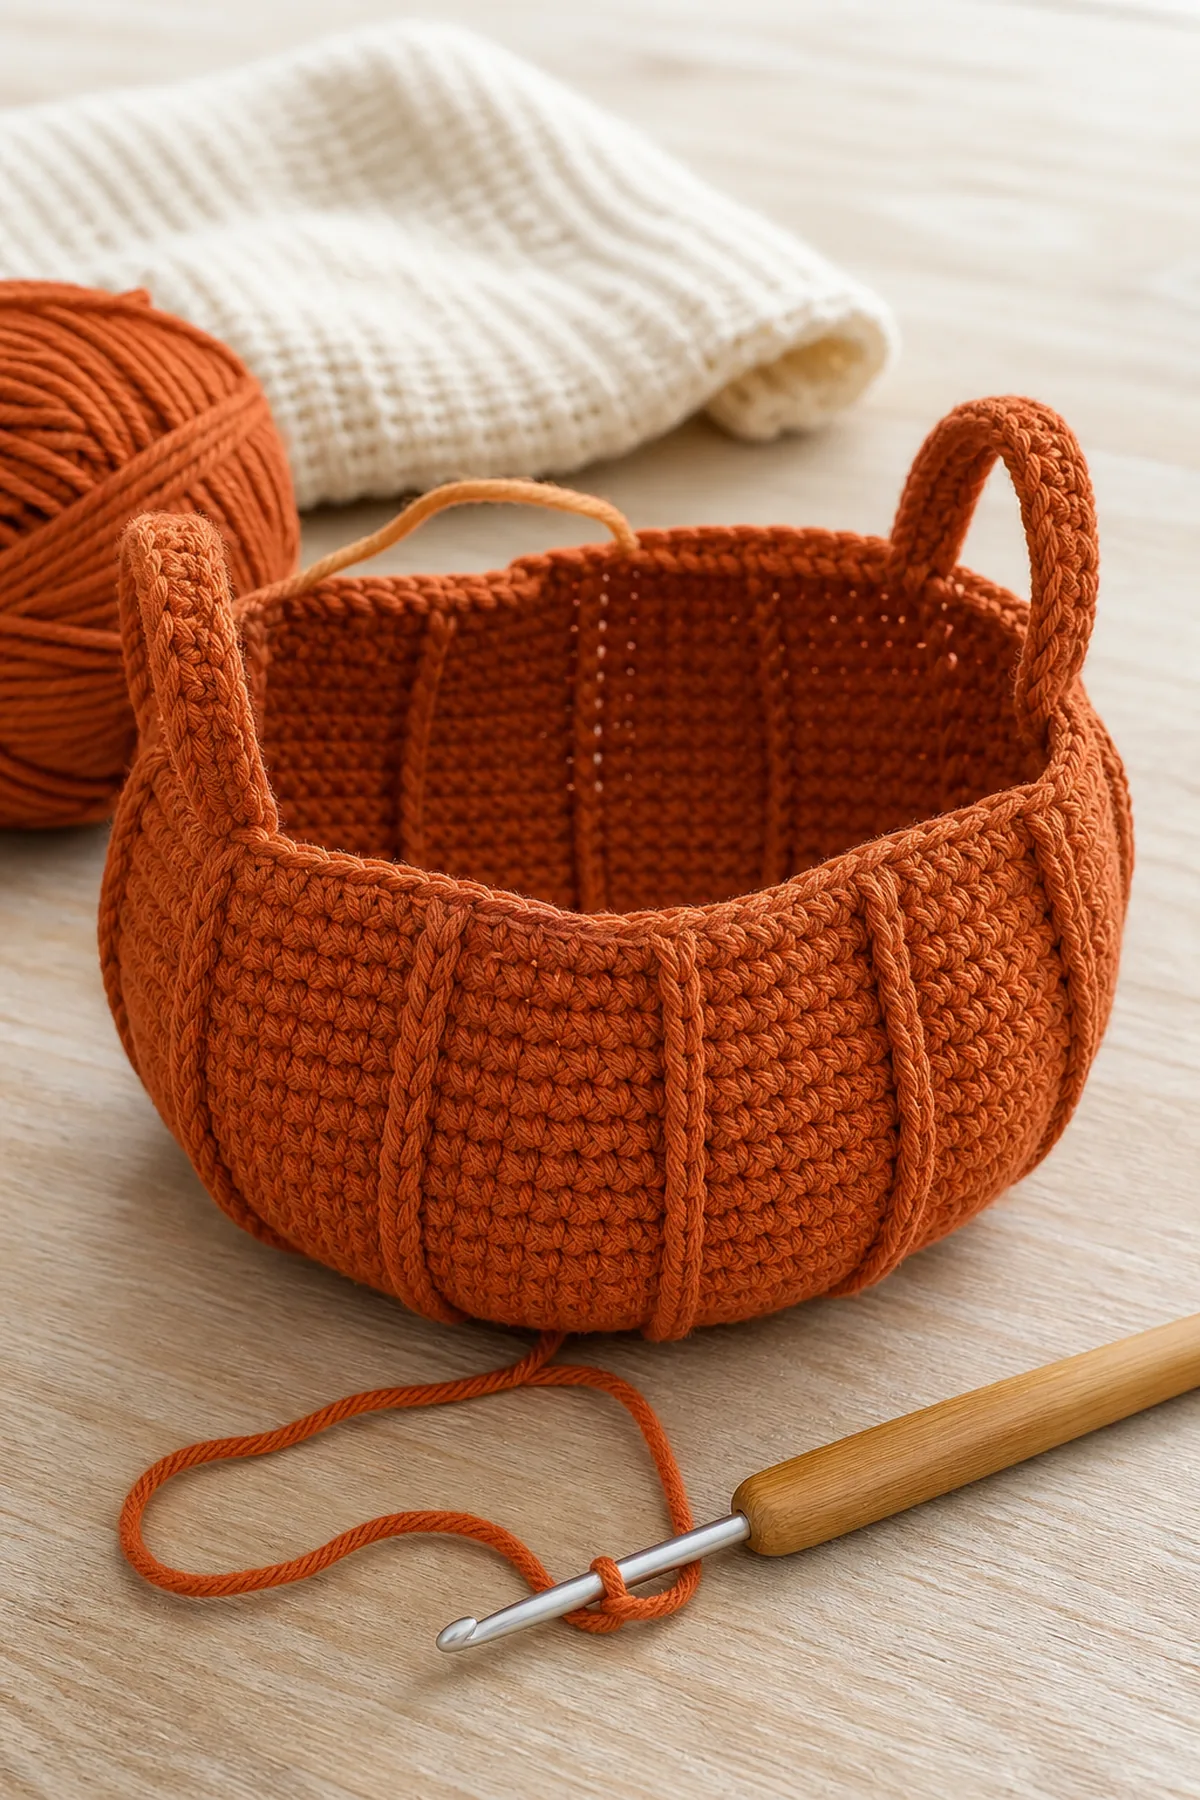
Work 10 rounds of alternating front-post and regular single crochet to create eight subtle pumpkin ribs. For the handle round, sc 8, ch 8, skip 6, sc 14, ch 8, skip 6, sc 6. On the next round work 10 sc around each chain space and sc in each remaining stitch. Finish with one reverse-single-crochet round.
Optional Lid
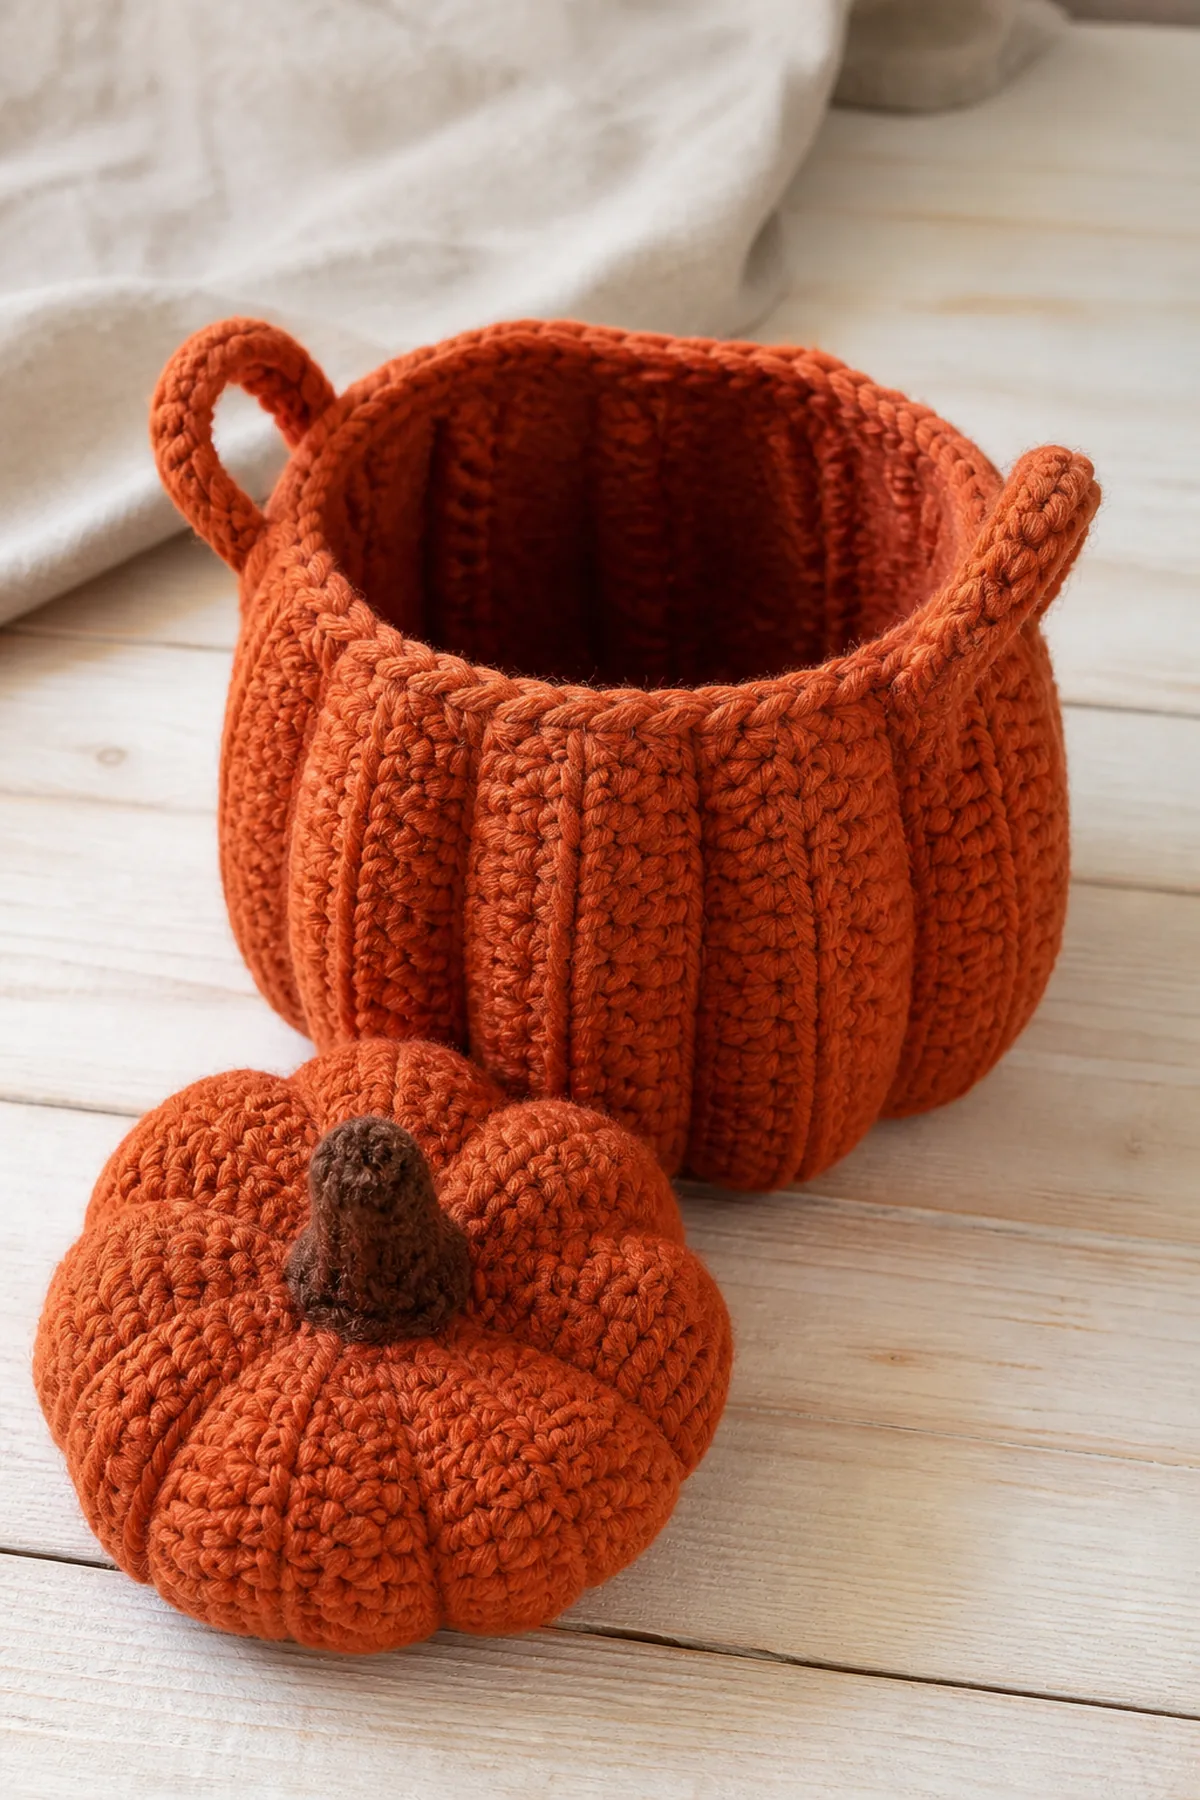
Repeat base Rnds 1–5, stopping at 40 stitches. Work one even round. Crochet a short brown stem from 6 sc in a magic ring and 4 even rounds; stuff lightly and sew through the lid center.
Construction Check
Lay out all pieces before final assembly. Match marked centers and edges, distribute stitches evenly, and compare paired pieces for symmetry before sewing.
Finishing
- Weave every yarn tail through several stitches on the wrong side, reverse direction, and trim.
- Shape gently by hand. Wet block flat only when appropriate for the chosen fiber and project.
- Inspect seams, attachments, and stitch counts before use.
Customization and Practical Tips
- Change the palette while keeping yarn weight and gauge consistent.
- Record the hook size and final measurements if making another version.
- For washable projects, follow the yarn label and reshape while drying.
Frequently Asked Questions
Can I substitute yarn?
Yes. Choose a yarn with similar thickness and behavior, then swatch because fiber and twist affect size and drape.
How do I keep the result symmetrical?
Count each row or round, mark center points, and compare matching pieces before fastening off or sewing.